![]()
![]()
![]()
![]()
When it comes to creating duplicate Windows 95 systems, there are two main ways that you can go. You can do it with several steps, a little imagination, and no extra software, or you can do it with a little money and a lot less effort using a commercial software package called GHOST.
Regardless of the way you choose, you will need a source machine and a target machine. The source machine is generally one that is set up exactly the way you want the second or subsequent machines. The target machine is the one where you want the operating system, applications, and data to end up. Optionally, you may want a distribution machine to hold the clone image so you can quickly replicate 95 to many machines at once.
Even though Windows 95 is a DOS-based operating system, normal tools such as XCOPY will not work. The Registry and system files are the challenges here. If you want to back up the system and restore it, you can do it, as long as you use the tips in the next section.
Inside Windows 95, there are features that will allow you to make a clone of a machine, making the installation easy. In Chapter 6, "Protecting the Windows 95 Registry," I discussed some tools to protect the system. As always, make sure you have a good copy of the Registry before trying to clone the system.
At the source system
At the target system
GHOST is an acronym for General Hardware Oriented System Transfer, a software package from Innovative Software in Milwaukee, Wisconsin. There are several ways to use GHOST, but cloning Windows 95 systems is probably the best. You can also use it to clone Windows NT systems, but domains, SIDs, and hardware differences sometimes cause problems. When you are cloning a Windows 95 system, GHOST copies the entire partition structure of the source PC to the target PC. There is no need to partition the drive with FDISK. The current version of GHOST doesn't even require the target hard disk to be the same size and physical geometry (heads, sectors, and cylinders) as the original.
You have options to do the transfer in three ways: You can connect the two computers together via the parallel ports and do a direct copy; you can insert the second disk into the same machine and do a disk-to-disk copy; or, you can create an image on a distribution disk for later transfer. That distribution disk could easily be a CD, a JAZ disk, or a network disk.
In this chapter, we are going to do the most popular option, creating an image and then using it to create a new system as fast as possible.
The following numbered list gives detailed instructions for creating a duplicate image of your hard drive on another drive (either connected to the same system or connected to the network):
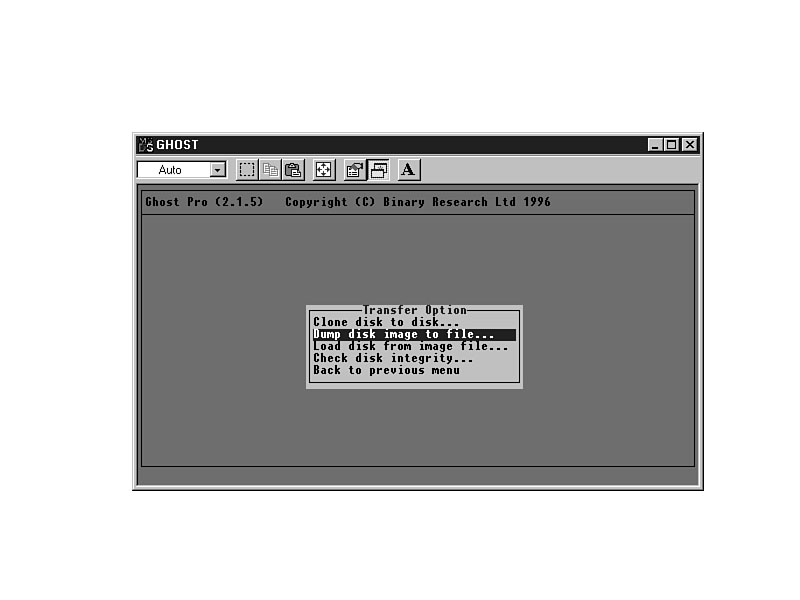
WARNING: You can run GHOST from within Windows 95, but its reliability is significantly diminished. Windows 95 always has some files open, which may cause problems to the system. Use GHOST to clone Windows 95 hard disk drives, but use DOS drivers booted from a DOS disk whenever possible. Then, at the DOS prompt, run the GHOST application. The reliability of the process will be much better.
Figure 36.1. Transfer options in GHOST.
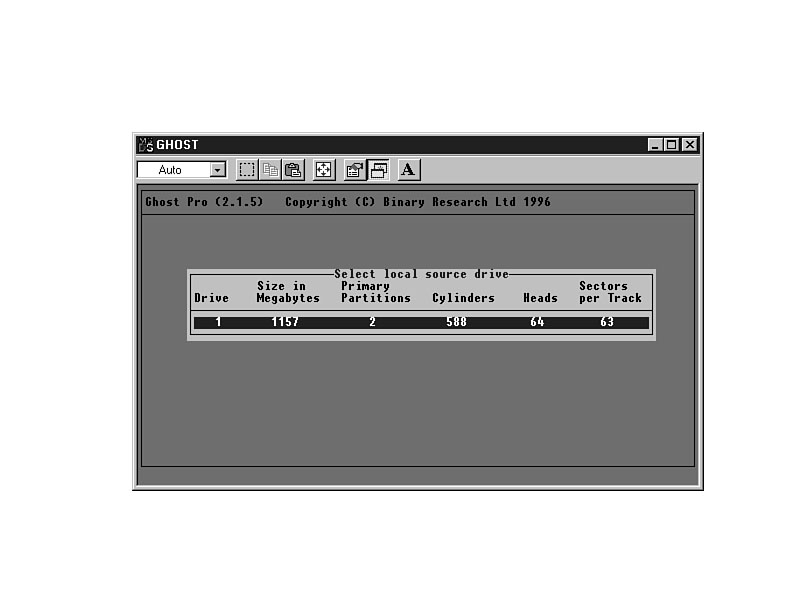
Figure 36.2. Choose the drive to copy.
NOTE: GHOST will not allow you to independently copy logical drives. For example, if you have C: and D: on the same physical drive, it will copy both to the image or drive. If they are on separate physical drives, you will be able to work with them separately.
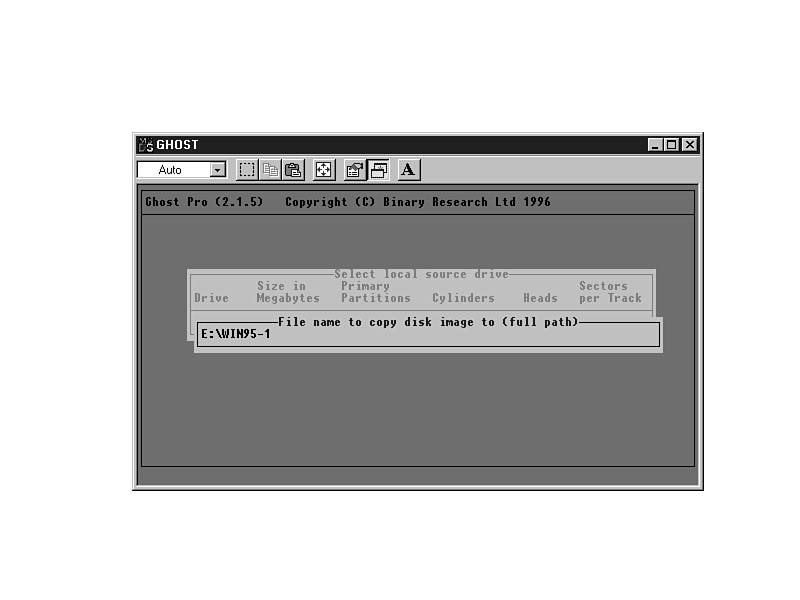
Enter the target location. If you are using a network and you try to use an UNC as your target, you may experience an error that says you have no space available. Instead, map the network drive to a letter, and then use that. Figure 36.3 shows the distribution disk location.
Figure 36.3. Enter the name of the drive.
GHOST will provide you with the status of the image creation, including size, elapsed
time, time to finish, and the filenames and directories copied. Figure 36.4 shows
the status
screen.
Figure 36.4. The status of the image creation is constantly updated.
Once the entire image has
been created, the file will be closed, and GHOST is finished.
You may then transport and store that image via hard disk, network, CD-Recordable,
or backup. You cannot go directly to backup or CD-Recordable, but once the file is
created, you can easily
move it there.
Now that you have the image ready, you can easily recreate the partitions and drives. The disk at the target system does not need to be partitioned or formatted. GHOST will do that during the process.
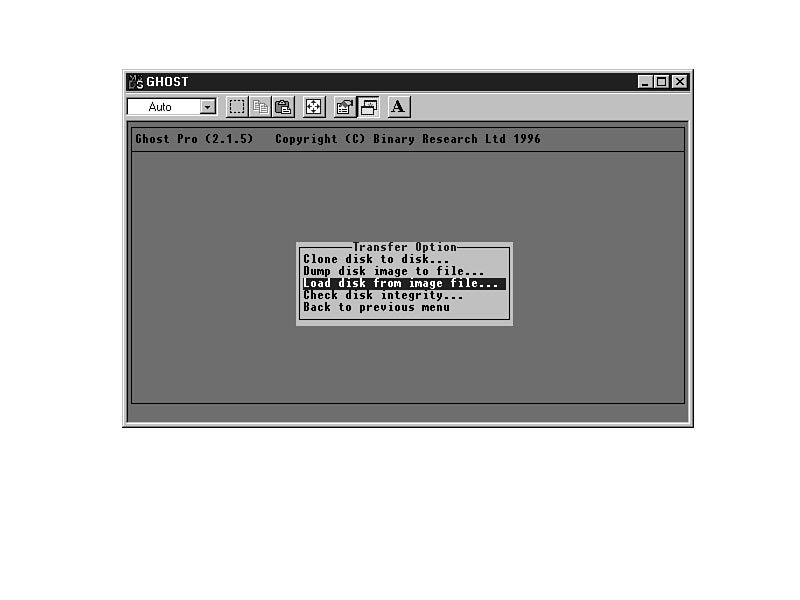
The following list gives detailed instructions for using the stored image to create a Windows 95-based system on a new computer.
Figure 36.5. Choose the transfer option.
WARNING: GHOST will write over all the partitions on the physical drive. None of the data that is currently on the target system will be retained.
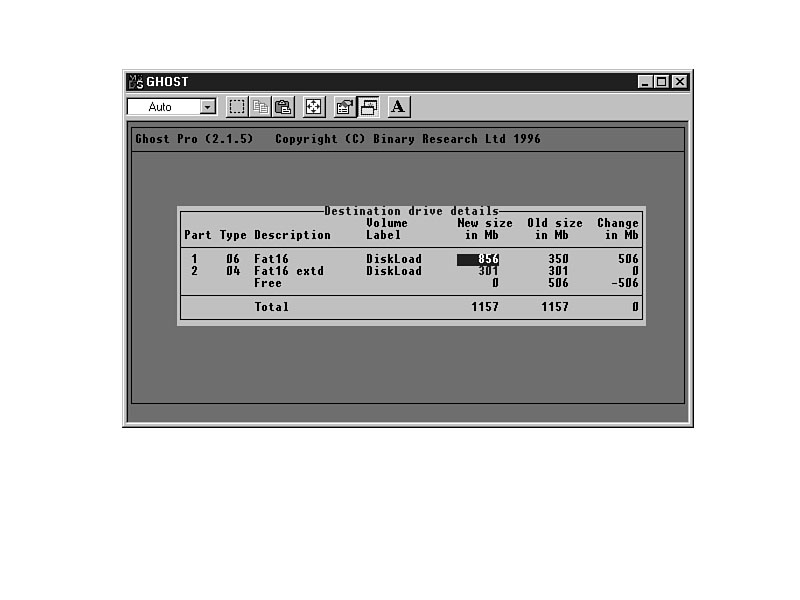
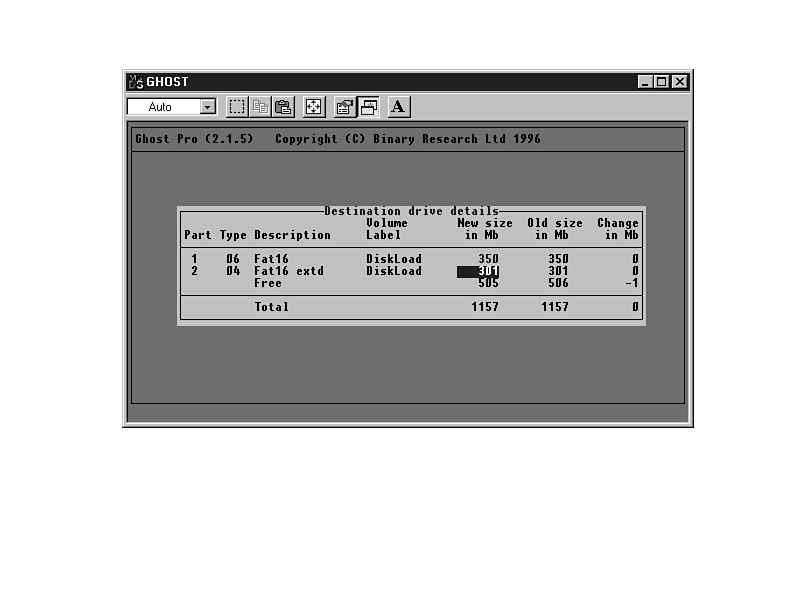
Figure 36.6. Destination drive details.
Figure 36.7. Allocate partition sizes in GHOST.
WARNING: Once you start the transfer of the GHOST image to the target system, there is no turning back. As soon as it starts, the current partitions will be destroyed.
The cloning process is very fast and easy with GHOST, and it allows you to create new systems very fast. Each system is a mirror image of the original system, so if you plan well, you can make the process work very well for you. Whichever way you choose to create the clone, you will need to change the system name if it is going to be connected to a network. Other than that, it's as close to a perfect cloning process as it can get.
![]()
![]()
![]()
© Copyright, Macmillan Computer Publishing. All rights reserved.