![]()
![]()
![]()
![]()
When you want to edit the Registry of your own system or another system on the network, you use REGEDT32.EXE or REGEDIT.EXE to make necessary changes. You can use these programs to edit system Registries whether the systems are members of the domain or not, and whether they are even peer-to-peer systems on a simple network.
System Policy Editor was designed for the editing of members of the network. The policy gets implemented only when the user logs on to the domain. However, it is possible to edit the Registry directly, not waiting for a logoff/logon to update, and also to make changes to workgroups-connected systems.
The only limitation to editing those systems through System Policy Editor is that the only available options for changes are those included in the loaded templates.
TIP: Another great benefit of editing the Registry using System Policy Editor is the ability to make a large number of changes, and then choose to save them or not. Unlike REGEDT32.EXE and REGEDIT.EXE, System Policy Editor does not automatically update the Registry with each individual change.
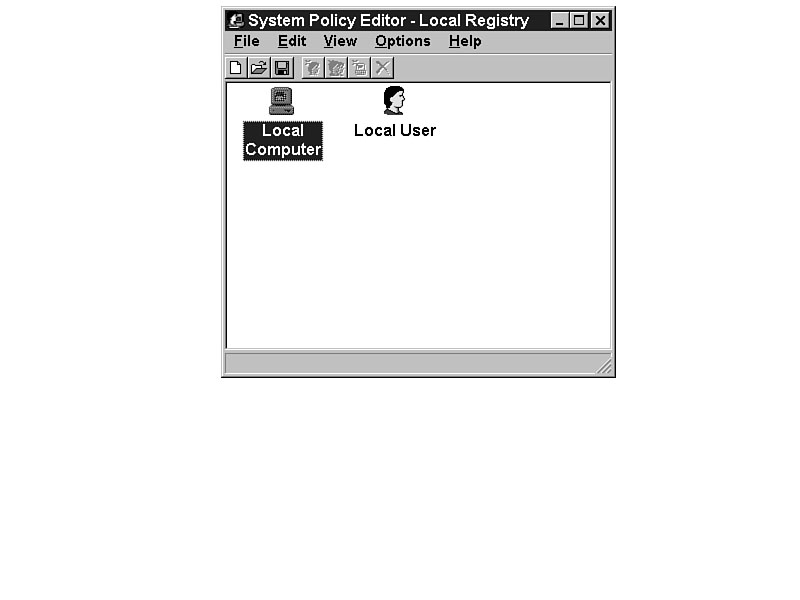
To open the Registry for the local system, select File | Open Registry. Figure 30.1 shows that the labels are Local Computer and Local User instead of Default Computer and Default User.
Figure 30.1. Direct Registry editing with System Policy Editor.
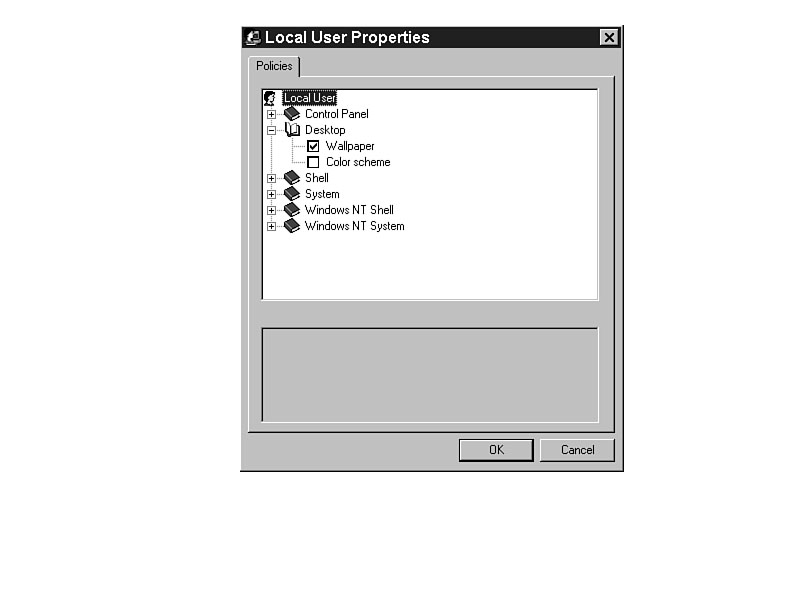
When you open the template for the local computer or local user, you will see their
actual settings instead of
their policies. Notice in Figure 30.2 that there are no
grayed boxes, only blank or checked boxes. This makes it easy to check the current
status of a policy and to assertively set Registry changes.
Figure 30.2. Actual Registry settings shown for Local User Properties.
Any changes made are only for that computer and user, and cannot be
applied to multiple
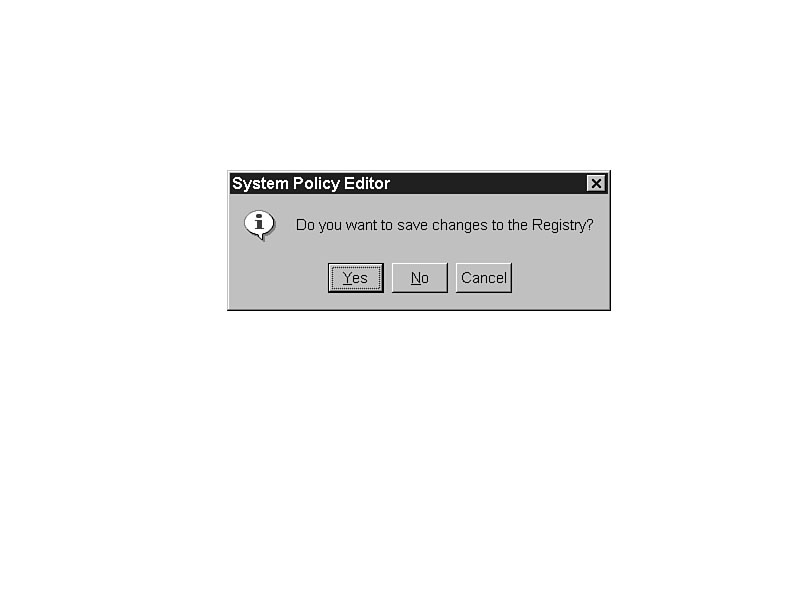
computers or users. When you finish the changes in System Policy Editor, save the
information with File | Save. If you choose to close the Registry without saving,
the system prompts you to save it, as shown in Figure 30.3.
Figure 30.3. Changes prompt an opportunity to save the Registry.
Unlike policy editing with System Policy Editor, direct Registry editing can only be done one system at a time. To open another system's Registry, choose File | Connect. You can then choose to browse for a computer, or type the computer's name.
TIP: Even if the computer you need is not in the browse list, you can type the name for any Windows NT or Windows 95 system (with Remote Registry Editing enabled) on the physical network. It does not need to be a member of the domain.
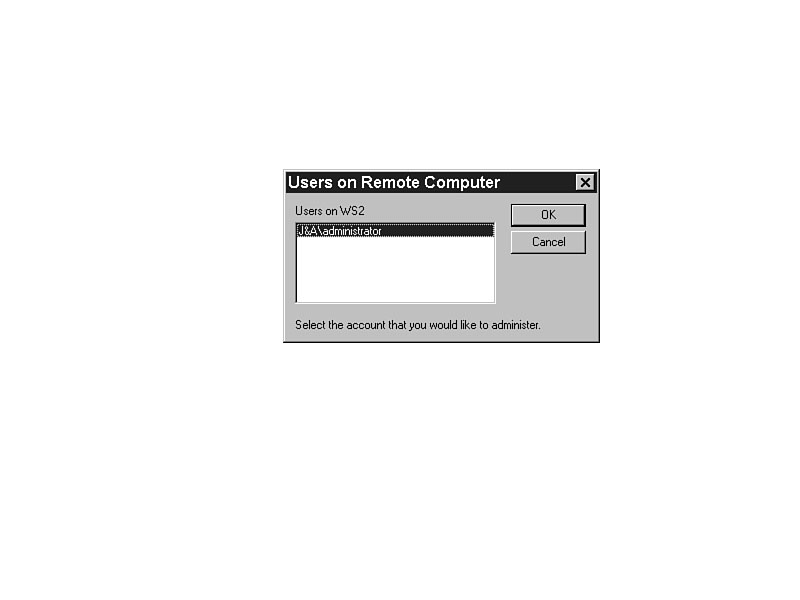
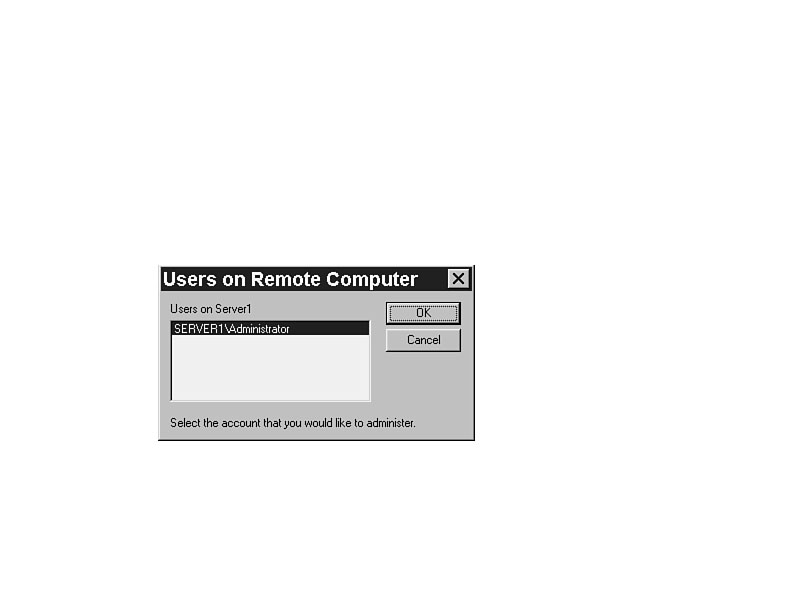
When you select a computer, you are also prompted to choose which user account on the system to modify. Figure 30.4 illustrates this dialog box.
Figure 30.4. Choose the user profile you want to edit.
Even though you are given a choice of users, you can only access the user (and his
policy) that is currently active. If no one is currently logged on, you are not given
an opportunity to select any user. However,
information about who is logged on can
be valuable; not knowing what user is active could mean that you edit information
incorrectly.
One of the most powerful ways to use direct editing is to make surgically placed changes to the Registry. Editing the Registry with System Policy Editor can be used for making specific one-time changes to domain-connected systems. In the policy file, users may be specified as a member of one or more groups (groups from the User Manager for Domains), or specified individually. If a user is specified as a member of a group, but not as an individual, only the group's policies take effect. If you want to isolate that user for a specific change without making him an individual in the policy file and without making that change a part of the group's policy file, you can choose to edit his Registry directly.
For example, Bill is a member of the Accounting group in User Manager for Domains. You choose to implement a policy for that group, and make several settings. Those settings apply for all members of the group and any new members put into that group as long as the policy stays in effect. If you want to change the Registry for Bill, but not the rest of the Accounting group, you can connect to his Registry and make the necessary changes.
NOTE: If you take someone out of a domain group, any policies already set and activated for the group will still be in effect. Policies update the Registry, and the policy-based Registry changes remain even if the policy is no longer in effect.
To allow Windows NT or Windows 95 systems to use a different policy file than the one in the NETLOGON share, you must make a change to the Registry. To change the location and/or the name of the file to look to for policies, change the local Registry of each of the Windows 95 systems with System Policy Editor. Follow these steps:
Figure 30.5. Setting a location for the policy file.
NOTE: The setting is a little deceptive, in that it says Manual in the Update mode. There is nothing manual about the update. The Registry is automatically updated at logon; it just uses a different path.
WARNING: Unless you insert the name of the file, the system will not recognize it. Be very specific.
TIP: If you are an advanced user, manager, or technical support technician, and you don't want another person determining policy for your system, you could change the location of your policy file to your local machine, and any policy changes made for the network would not affect your system or user Registry files.
Though a small part of the System Policy Editor, direct Registry editing is very powerful and important. The three most important ways to use this feature are
![]()
![]()
![]()
© Copyright, Macmillan Computer Publishing. All rights reserved.